Device Management
Adding the Device
Steps:
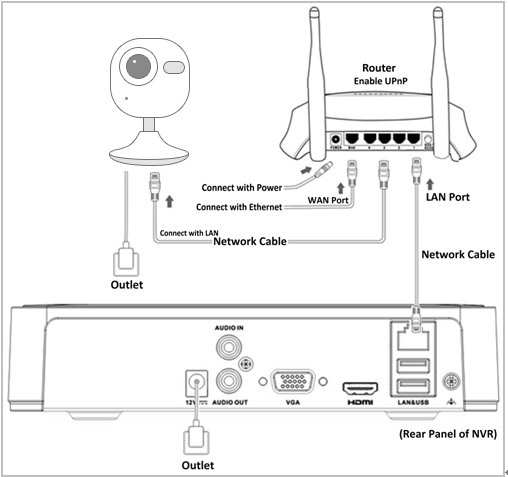
1. Connect the device to the subnet where your computer is located.
Note: It takes about 3 to 5 minutes for the device to register automatically before you can add it.
2. Enter the Device Management interface.
System Management>Device Management
3. Click Quick Adding. Two options are provided for adding the device, including Add Automatically and Add by Serial No..
Add Automatically:
The devices with the same subnet where your computer locates will be automatically detected and listed.
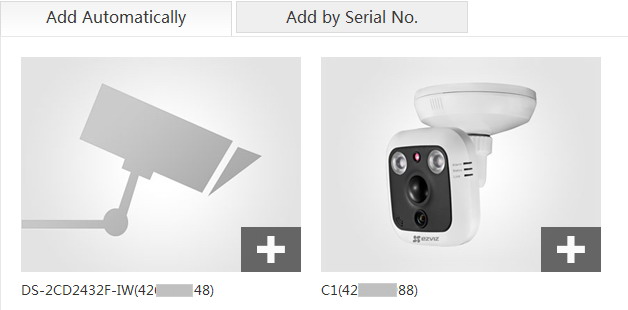
1) Select a device and click  to add the device.
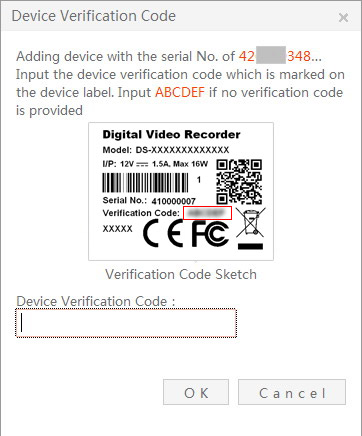
2) In the pop-up dialog box, enter the verification code of the device.
3) Click OK to finish adding the device. Y ou can edit a name for your device as desired and configure the Wi-Fi settings is available.
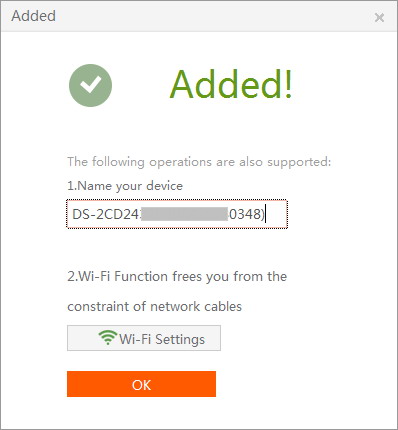
4) Click OK to confirm the settings.
Add by Serial No.:
1) Edit the serial No. of the device and click Search to search the device.
Note: The serial No. of the device is marked on the device label which is located on the packing case of the device.

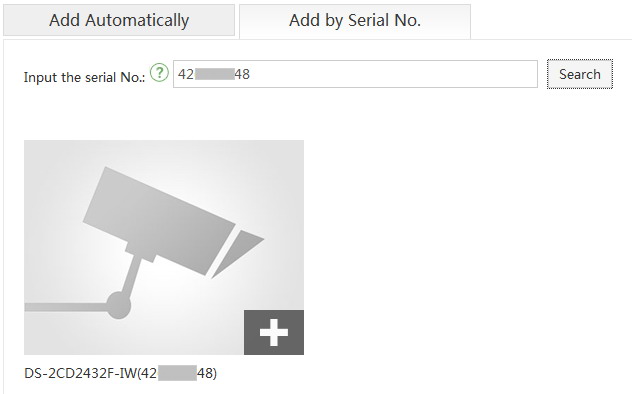
2) Click  of the found device to add it.
3) Enter the verification code of the device.
4) Click OK to finish adding the device. You can edit a name for your device as desired and configure the Wi-Fi settings is available.
5) Click OK to confirm the settings.
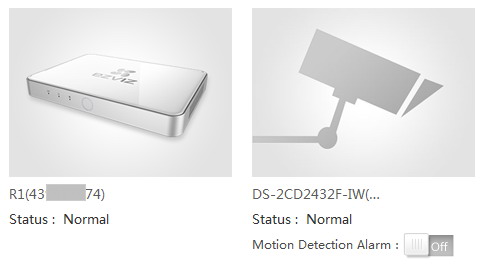
4. Back to the Device Management interface, you can see and manage the added device.
Upgrading the Device
In the Device Management interface, if the device is marked with  , it means a new version is available for the device and you can upgrade the device.
Steps:
1. Enter the Device Management interface (System Management>Device Management), and click the device to enter the Device Information interface.
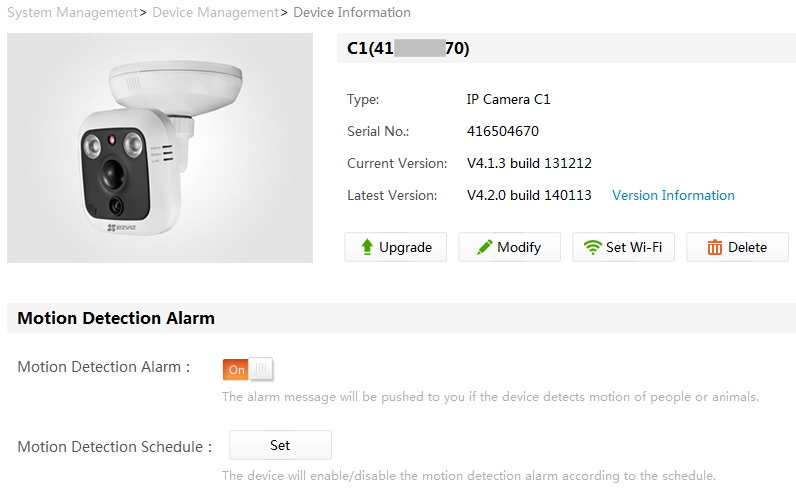
2. Click Upgrade to start upgrading the device.
Notes:
• The device and the computer should be in the same subnet.
• During the upgrading, please do not close the web browser, and the device should be online properly.
Deleting a Device
Steps:
1. Enter the My Device interface as shown in the following figure.
System Management>Device Management
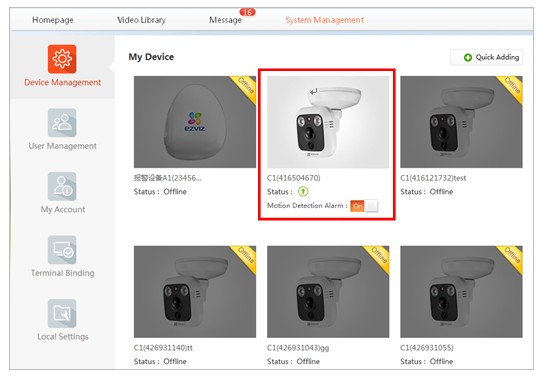
2. Click the device image to enter the Device Information interface as shown in the following figure.

3. Click  on the Device Information interface.
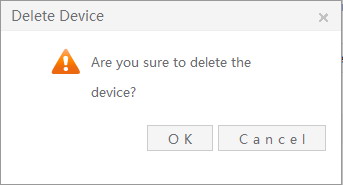
4. Click OK on the Delete Device pop-up box to delete the device as shown in the following figure.
Editing a Device Name
Steps:
1. Follow the steps 1 and 2 in section Deleting a Device to enter the Device Information interface.
2. Click  on the Device Information interface.
3. Edit the Name for the device on the pop-up box as shown in the following figure.
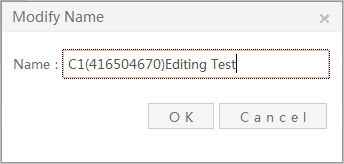
4. Click OK to save the new device name.
Device Information
1. Manual Setting Wi-Fi
The Manual Setting Wi-Fi is supported. You can manually input the SSDI and password of the Wi-Fi hotspot when you set the Wi-Fi connection for the device.
Note: The device must be upgraded to the latest version.

2. Security Protection Alarm
Purpose:
When you enable Security Protection Alarm, the alarm message of I/O alarm and PIR function of the device will be sent to the hicloudcam interface. PIR is the abbreviation of passive infrared sensor.
Steps:
1. Follow the steps 1 and 2 in section Deleting a Device to enter the Device Information interface.
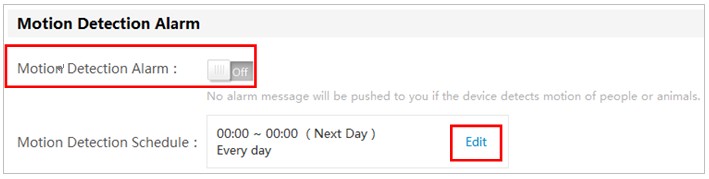
2. Click the button on the right of Security Protection Alarm to enable it.
Note: The default Security Protection Schedule is 24 hours.
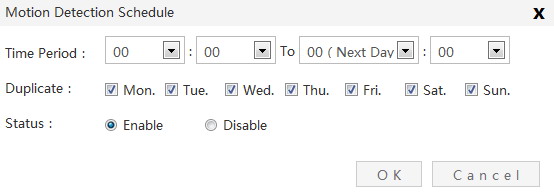
3. Click the Edit on the right of Security Protection Schedule to edit the time schedule.
4. Set the time period and copy this to other dates.
5. Click OK to save the settings.
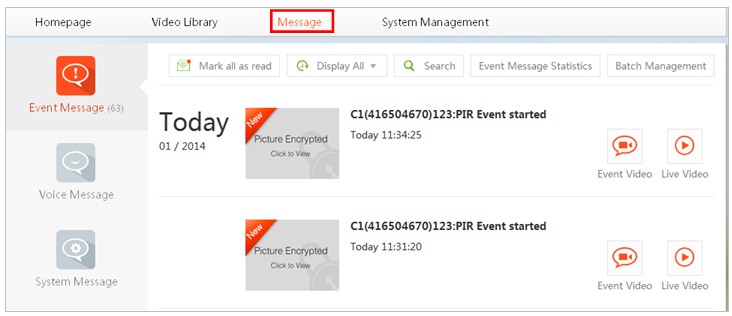
6. Click Message on the menu bar to view the alarm messages.
Note: This function is only supported by the devices with I/O alarm and PIR functions.
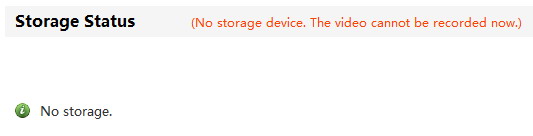
3. Storage Status
Purpose:
The storage information for the device will be displayed if there are storage services or devices configured. The storage information can be SD card storage, R1 storage, etc.
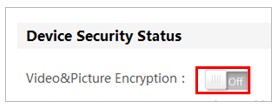
4. Video&Picture Encryption
Purpose:
When you enable this function, the verification code is needed before viewing live videos, record files or alarm pictures. The verification code is marked on the device label.
To enable the encryption function:
Steps:
1. Follow the steps 1 and 2 in section Deleting a Device to enter the Device Information interface.
2. Click the button on the right of Video&Picture Encryption.
3. Get the verificaiton code from your email address and enter it to the following interface.
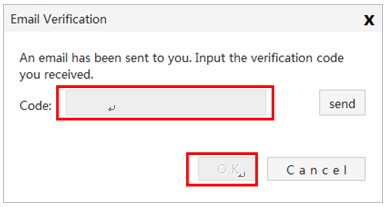
4. Click OK to enable encryption.
To disable the encryption function:
Steps:
1. Click the button on the right of Video&Picture Encryption.

2. Click OK on the pop-up hint box.
3. Get the verificaiton code from your email address and enter it to the following interface.
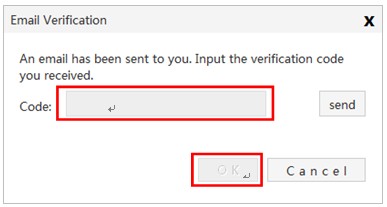
4. Click OK to disable encryption.
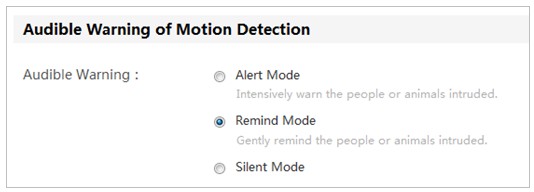
5. Audible Warning of Motion Detection
Note: The function is only supported by the specific module. Please check the specification.
You can set the audible warning mode as Alert Mode (Intensively warn the people or animals intruded), Remind Mode (Gently remind the people or animals intruded) and Silent Mode.
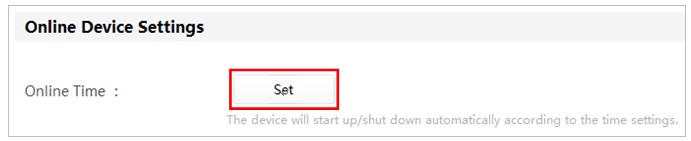
6. Online Device Settings
Purpose:
When you enable this function, the device turns on and off automatically according to the online time you set in the schedule. The remote control is disabled when the device is offline.
Steps:
1. Follow the steps 1 and 2 in section Deleting a Device to enter the Device Information interface.
2. Click Set button on the right of Online Time.
3. Click OK on the pop-up hint box and enter the schedule setting interface.
4. Set the time period, copy this to other dates and enable the Status.
5. Click OK to save the settings.

7. Device Message Notification
When you enable this function, messages will be sent to your mobile phone client if the device is offline

User Management
Purpose:
For enterprise use, you may desire several accounts with different permissions to manage the device. There are up to 10 enterprise accounts available.
Add a User:
Steps:
1. Enter the User Management interface as shown in the following figure.
System Management>User Management

2. Click Add User to add a user.
Enable/disable User:
You can click Enable All or Disable All to enable/disable all the accounts. You can also click Disable/Enable on the right of an account to enable/disable one.
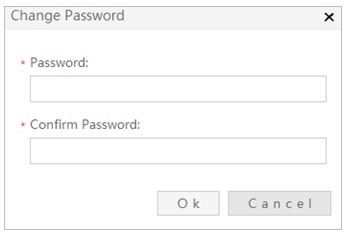
Change Password:
Click Change Password and enter the new password in the pop-up box as shown in the following figure.
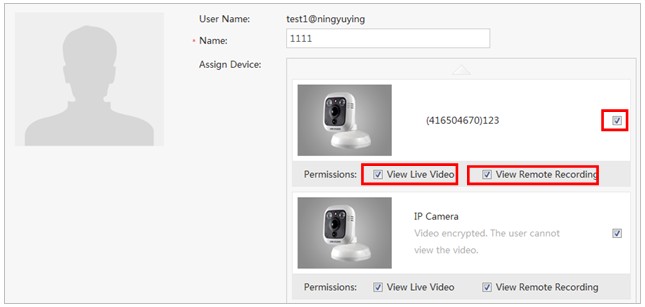
Configure User Permission:
Steps:
1. Click  to enter the user configuratin interface as shown in the following figure.
2. Select a device and select the View Live Video and View Remote Recording for the account.
3. Click Save to save the settings.
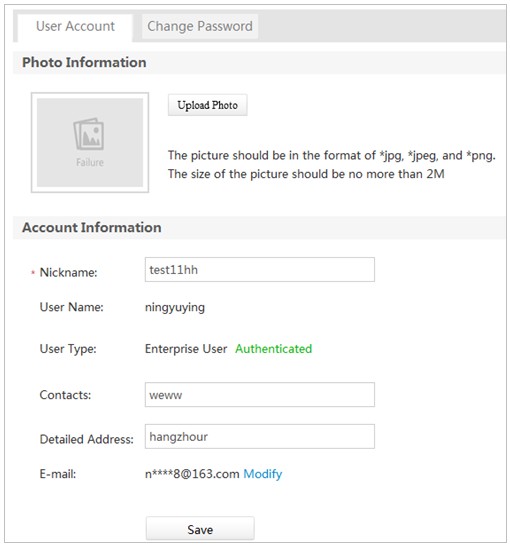
My Account
My Account Information
Steps:
1. Enter the My Account interface as shown in the following figure.
System Management> My Account
2. You can upload your photo and edit the user name, user type, contacts, address, email etc..
3. Click Save to save the settings.
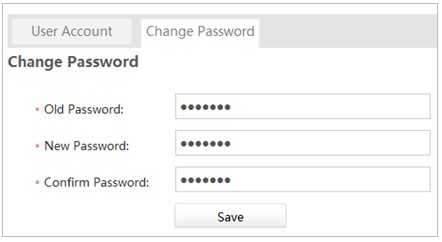
Change the Password
Steps:
1. Enter the My Account interface as shown in the following figure.
System Management> My Account
2. Click Change Password tab.
3. Enter the old password and new password.
4. Click Save to save the settings.
Forgot Password
In the login interface, click Forgot the Password? to enter the password retrieving interface.
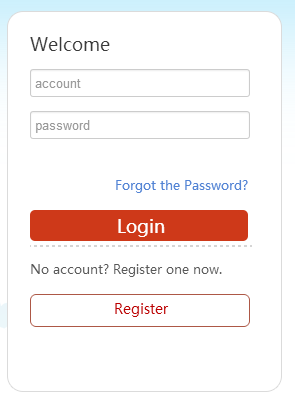
Fill in the information in the interface according to the hints and click OK to get the new password.
Terminal Binding
Click the System Management>Terminal Binding to enter the terminal binding page. You can bind your account with the current used computer, which can help to more effectively ensure the security of your account.
Enable the Binding:
Steps:
1. Click on the Enable button on the right panel of the page.
2. Click on the Binding button on the pop-up message window to get the window for verification.
3. Follow the system prompt to obtain the verification.
4. Click OK to complete the settings.
Disable the Binding:
Click on the Disable button on the right panel of the page for unbinding, and then you can use any of the computers to accessing the webpage.
Temporary Sing in:
While the binding function is enabled, you need to do authentication before login if you want to access your account with an unbound computer.
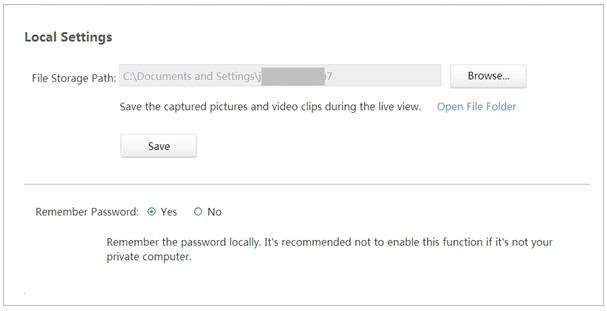
Local Settings
Click the System Management>Local Settings to enter the local settings page.
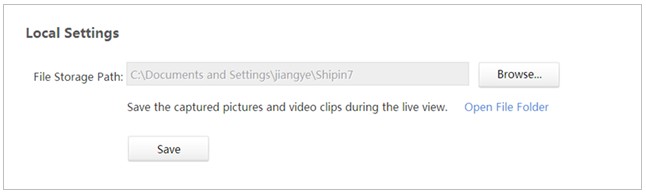
In the Storage Settings panel, you can set a directory for storing the capture, record and clips file.
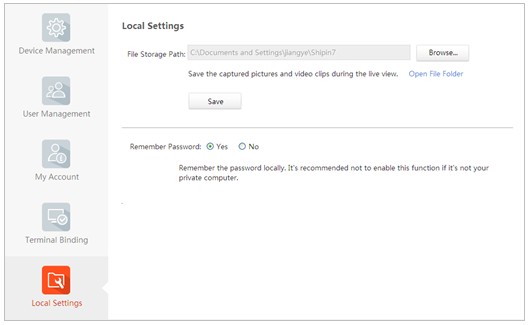
Storage Settings:
Click on the Browse button and to choose a local folder for the storage. Click Save to complete the settings.
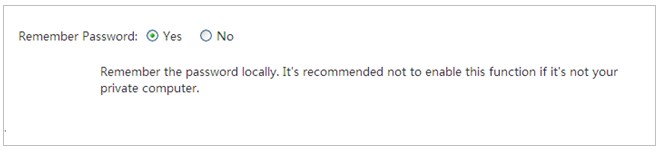
Remember the Password:
You can choose to remember the password to make your next login easier.
Click Y es on the lower panel of the page. The system will then remember the device password as well as the safe mode password.